Methods
Sprouting
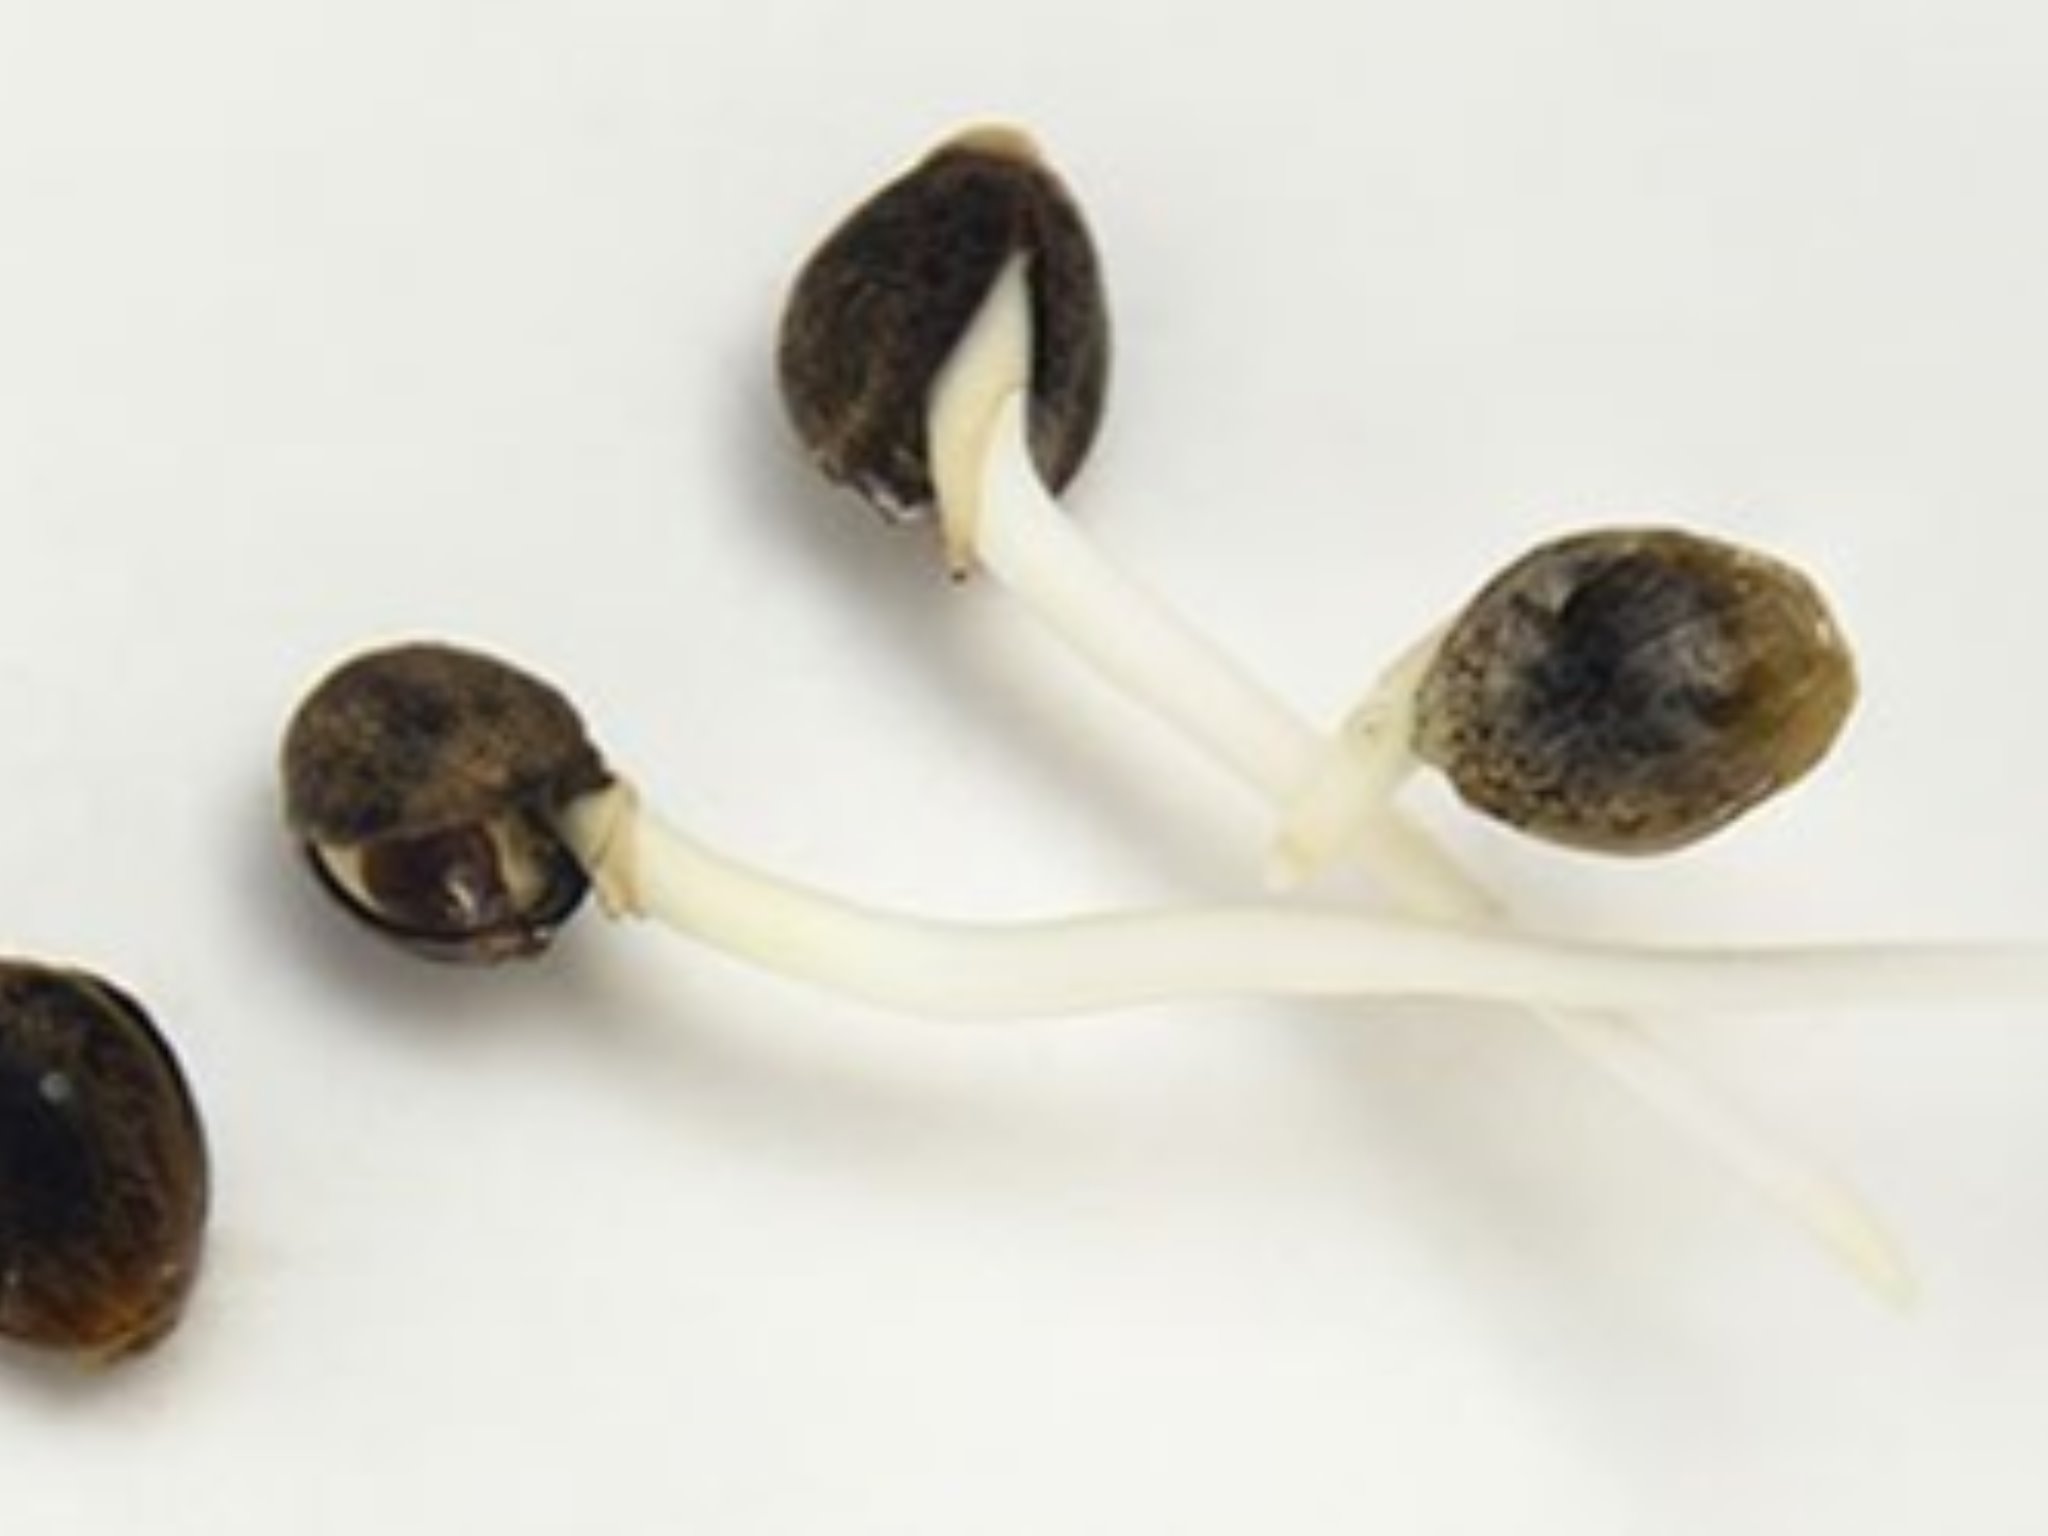
Okay, you've got your seeds, now what? Sprout your seeds!
Usually, germination takes between 1-7 days before a tap root emerges.
The paper towel method is a tried and trusted technique. Place a damp paper towel on a plate, put some seeds on the paper towel, leaving room between them, then place another damp paper towel over the top of the seeds. Invert another plate on the top of that to help keep the moisture in. If the paper towel dries out, add some water, but you don't want the seeds to be swimming.
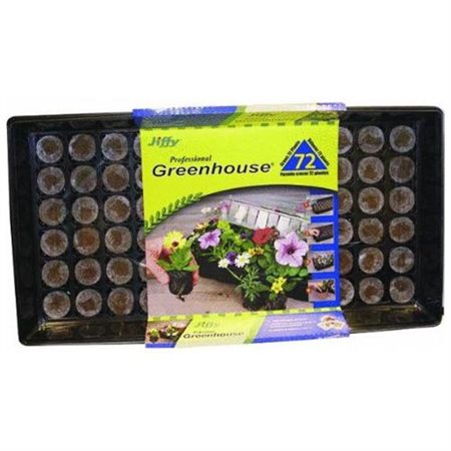
If you are too heavy handed to gently remove little sprouts without damaging the tiny rootlets, then we recommend using a seed starter from Home Depot or Walmart. This is the way we like to do it.
Sativa leaning strains tend to take a little longer to germinate, maybe 4-7 days. Some Indica strains and vigorous hybrids can take just a day or two. Outdoors in Spring time is naturally the time for seed sowing and cannabis is no different. But sprout them indoors and give the seedlings time to mature before moving outside.
Potting Up
Once your cannabis seeds have sprouted they are entering the seedling phase; this is not to be confused with vegetative growth, although 18-24 hours of light is common to both stages.
Even if you plan an outdoor crop it doesn’t hurt to get your seedlings strong and healthy indoors before moving them into the wild.
Cannabis seedlings can even thrive on a windowsill with decent sunlight.
Seedlings transition to vegetative growth usually between 10-15 days and begin to resemble tiny cannabis plants. Cannabis seeds must be encouraged to develop a vigorous healthy roots. Unless you are planting directly into final containers then small pots with lightly fertilized medium are recommended.
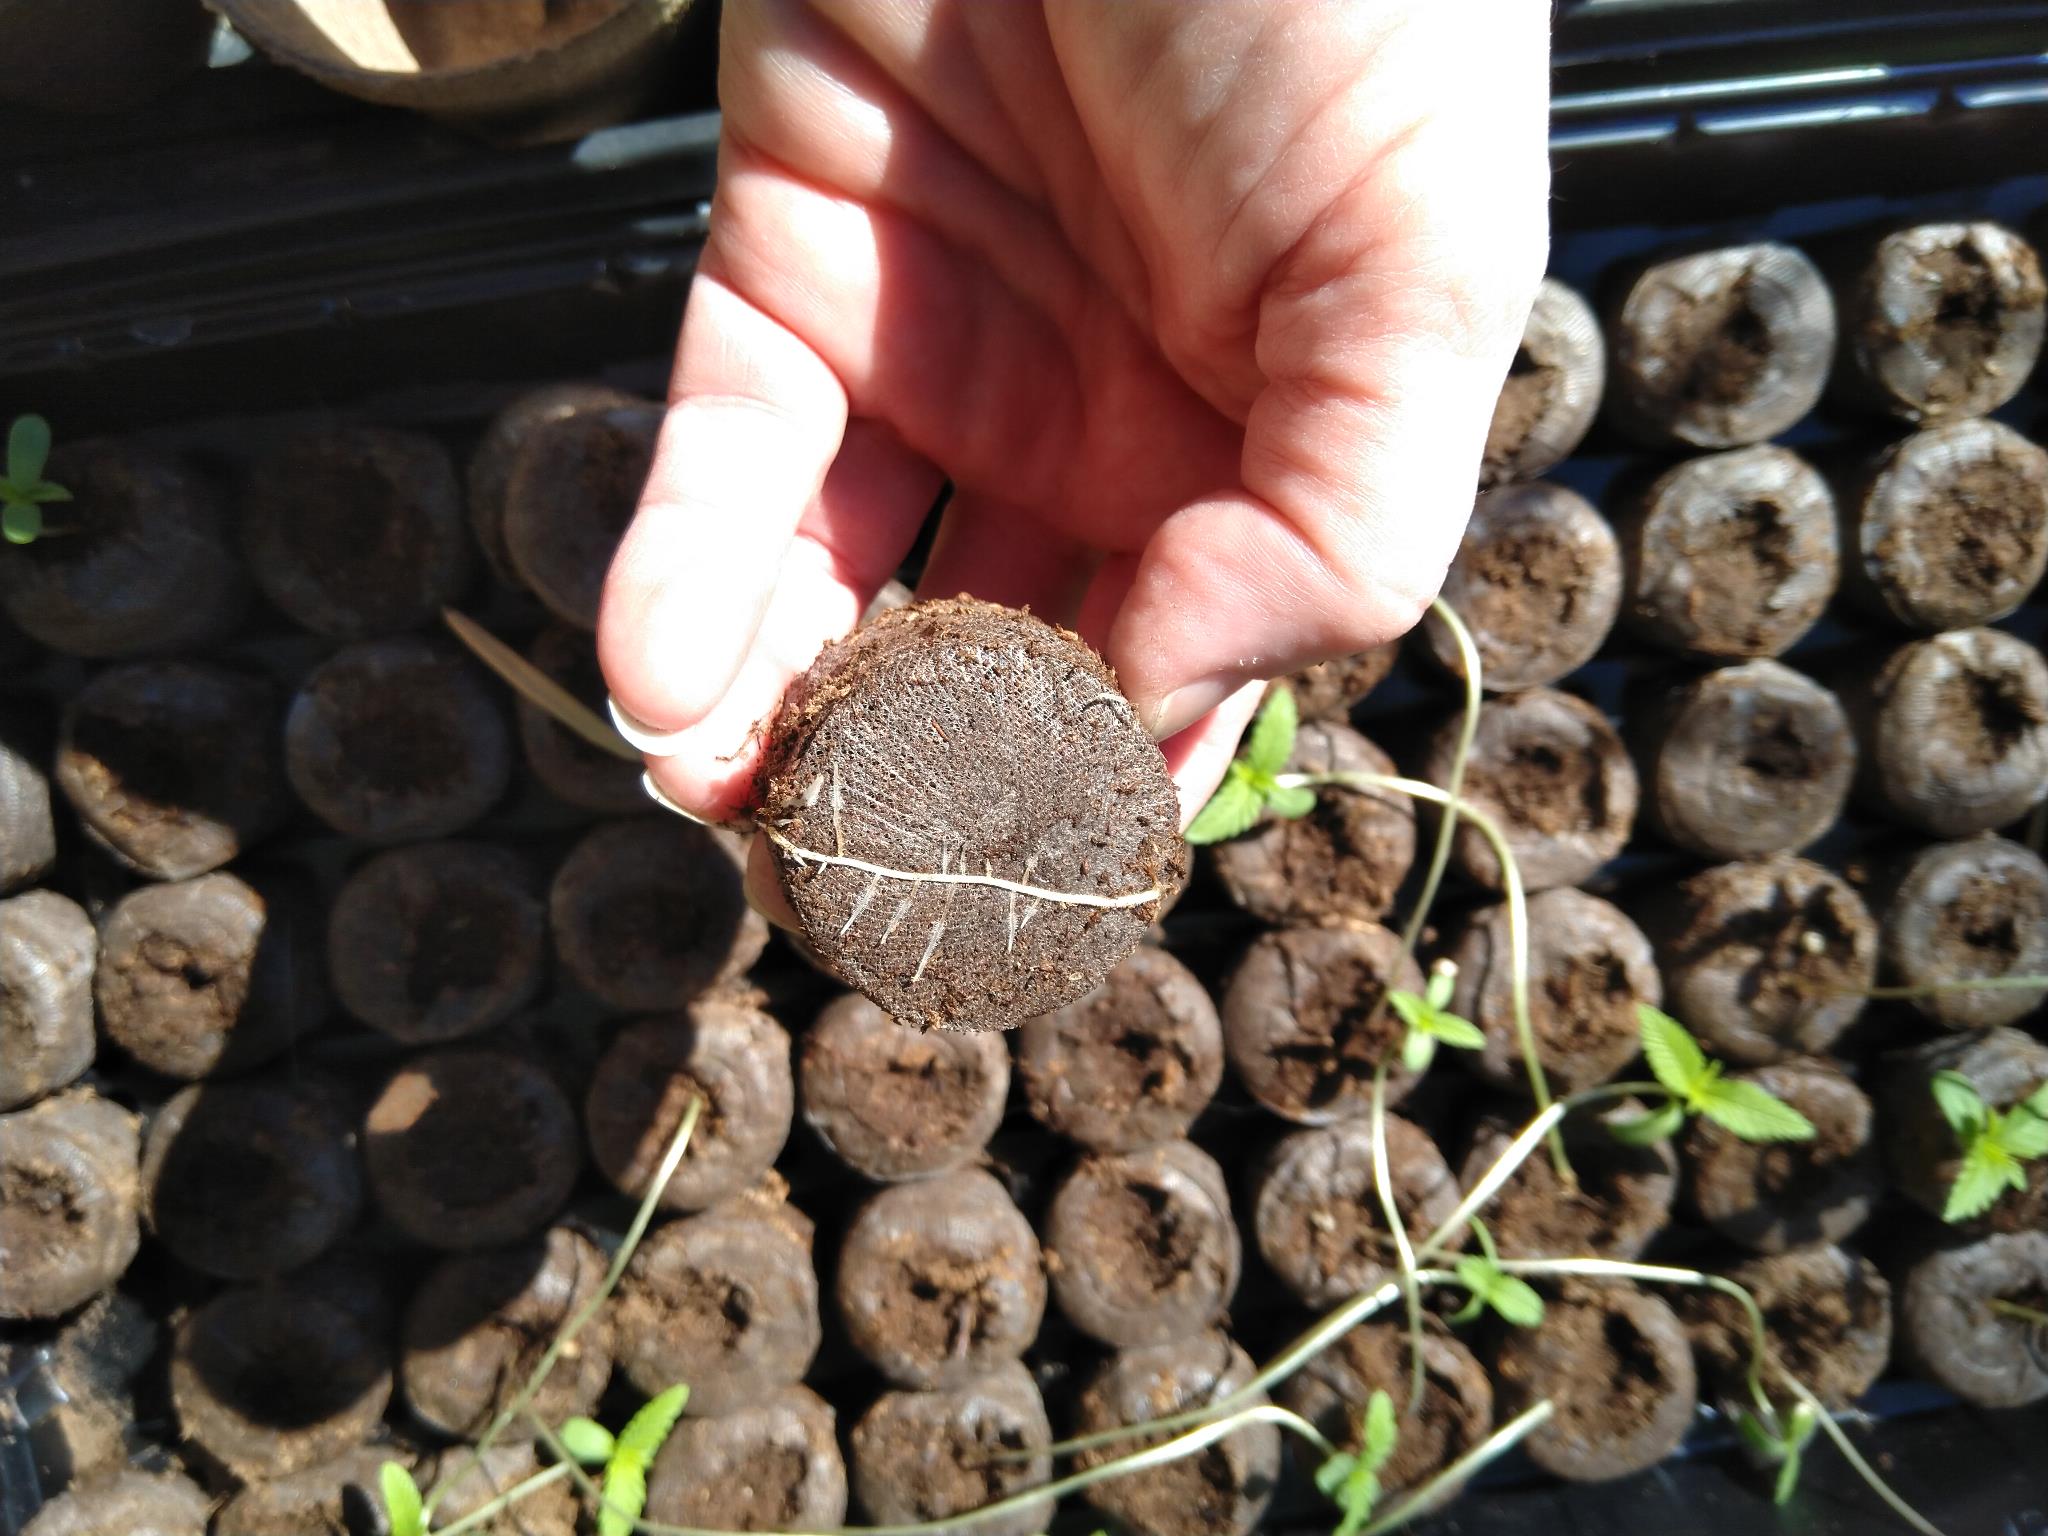
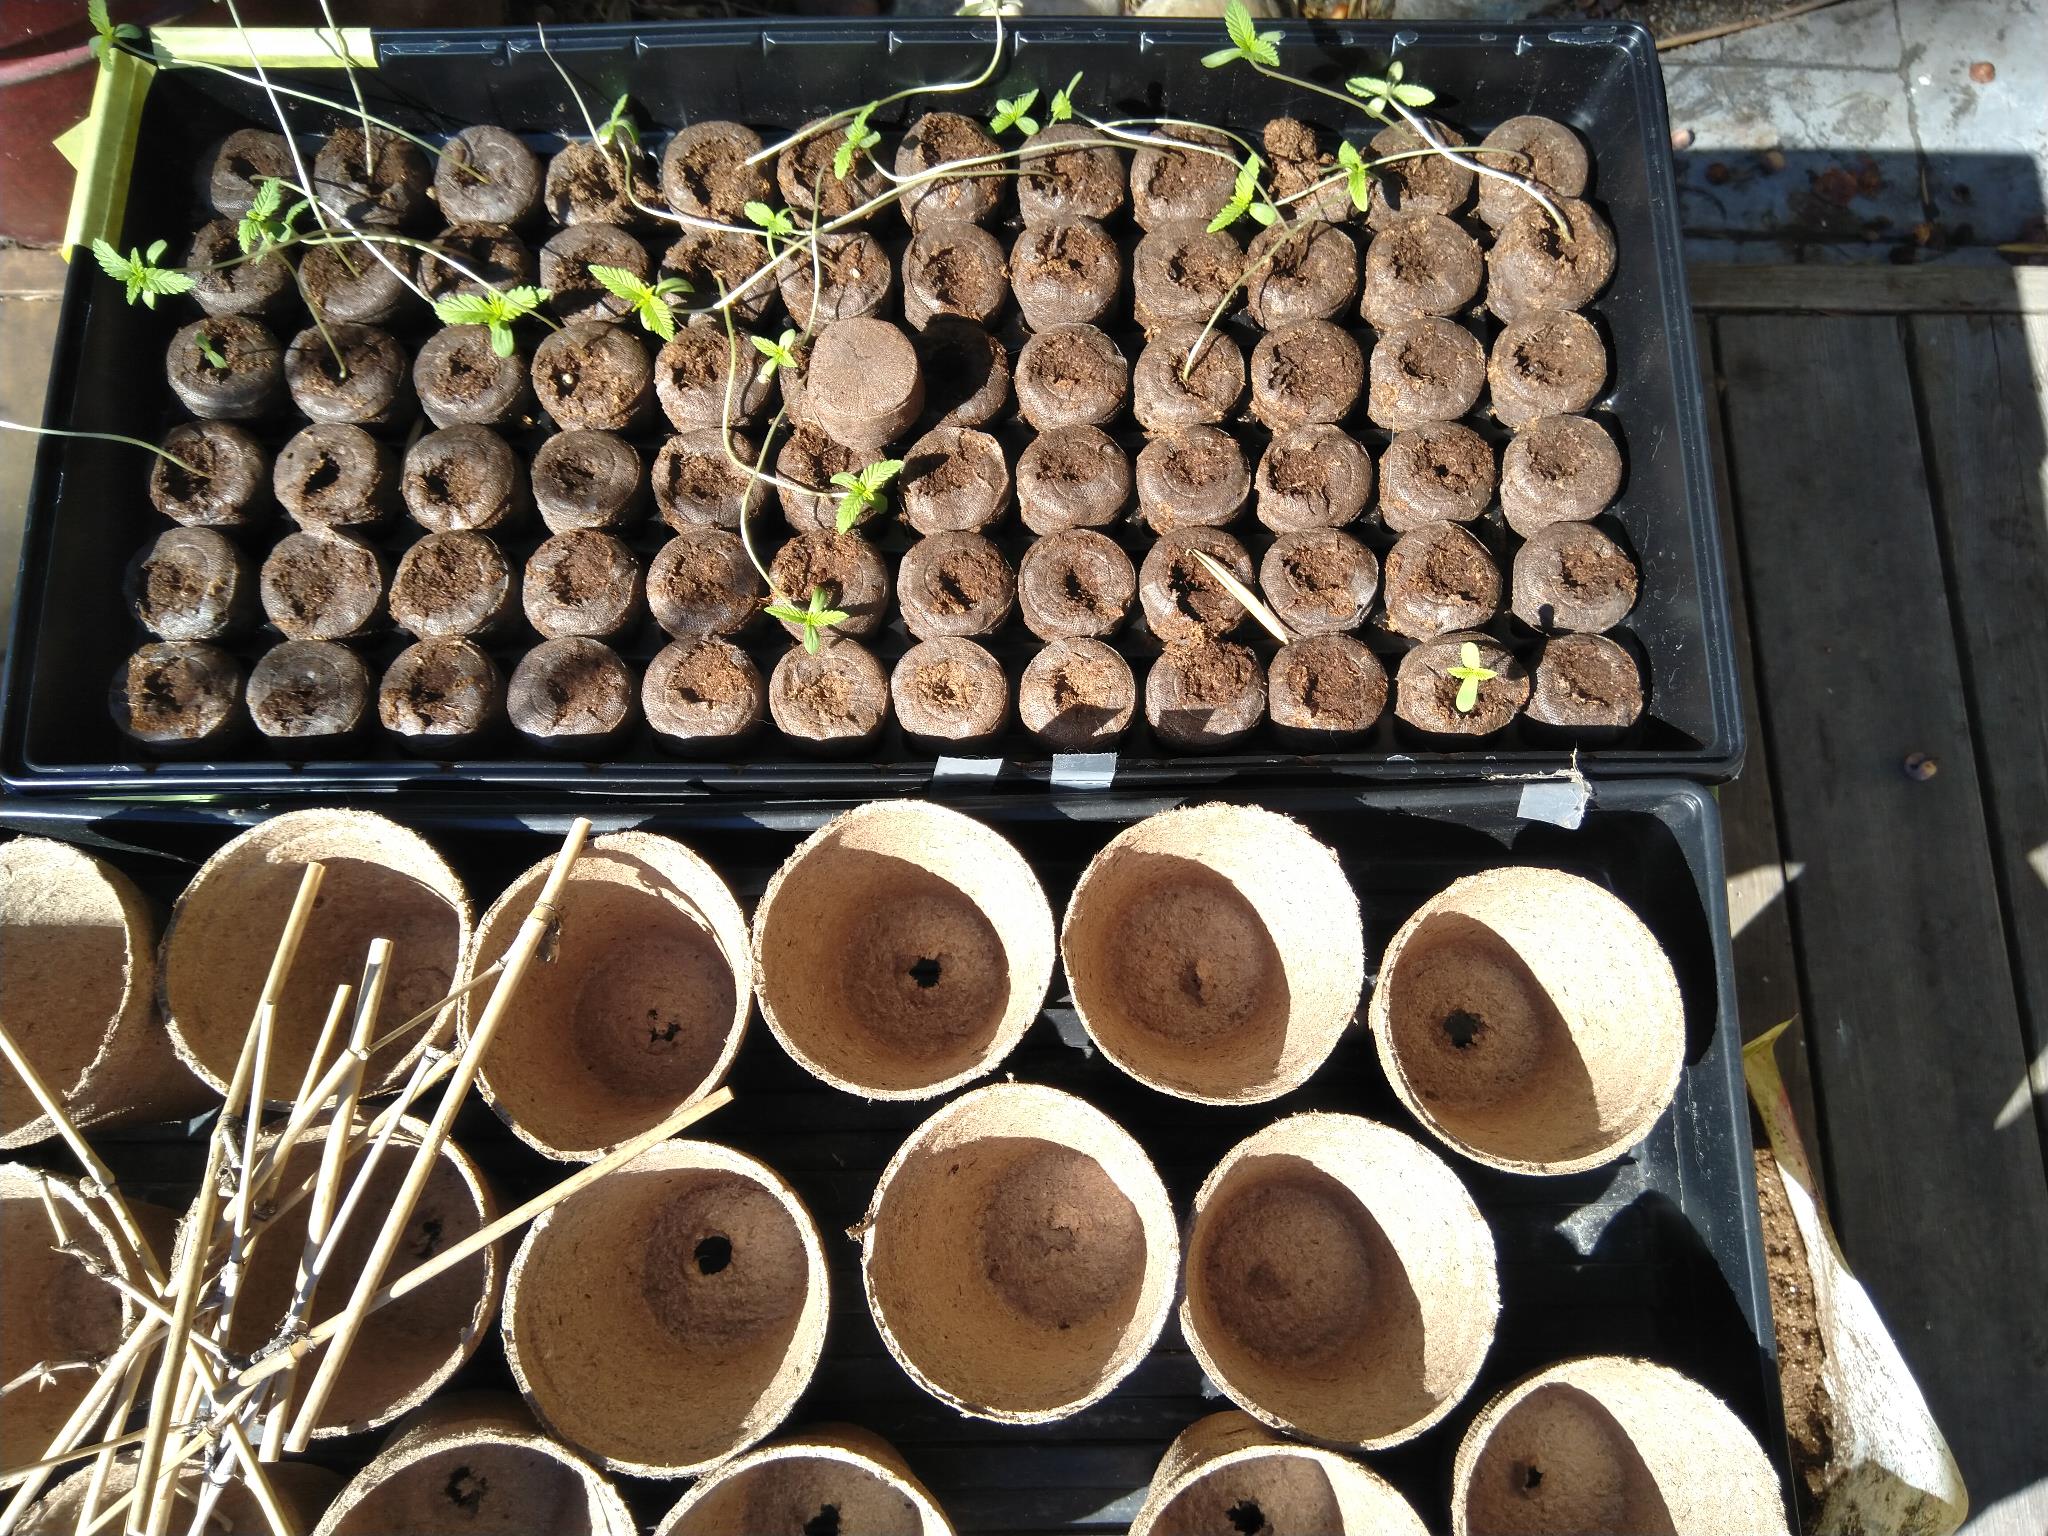
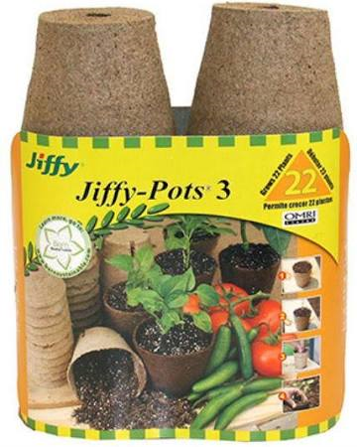
We pot up the Jiffy plug with the sprout when thin roots start to appear on the bottom of the plug. This plug goes into a Jiffy peat pot filled with loose seed starter soil. If you sprouted using the paper towel method, gently place one seed in a Jiffy peat pot filled with soil.
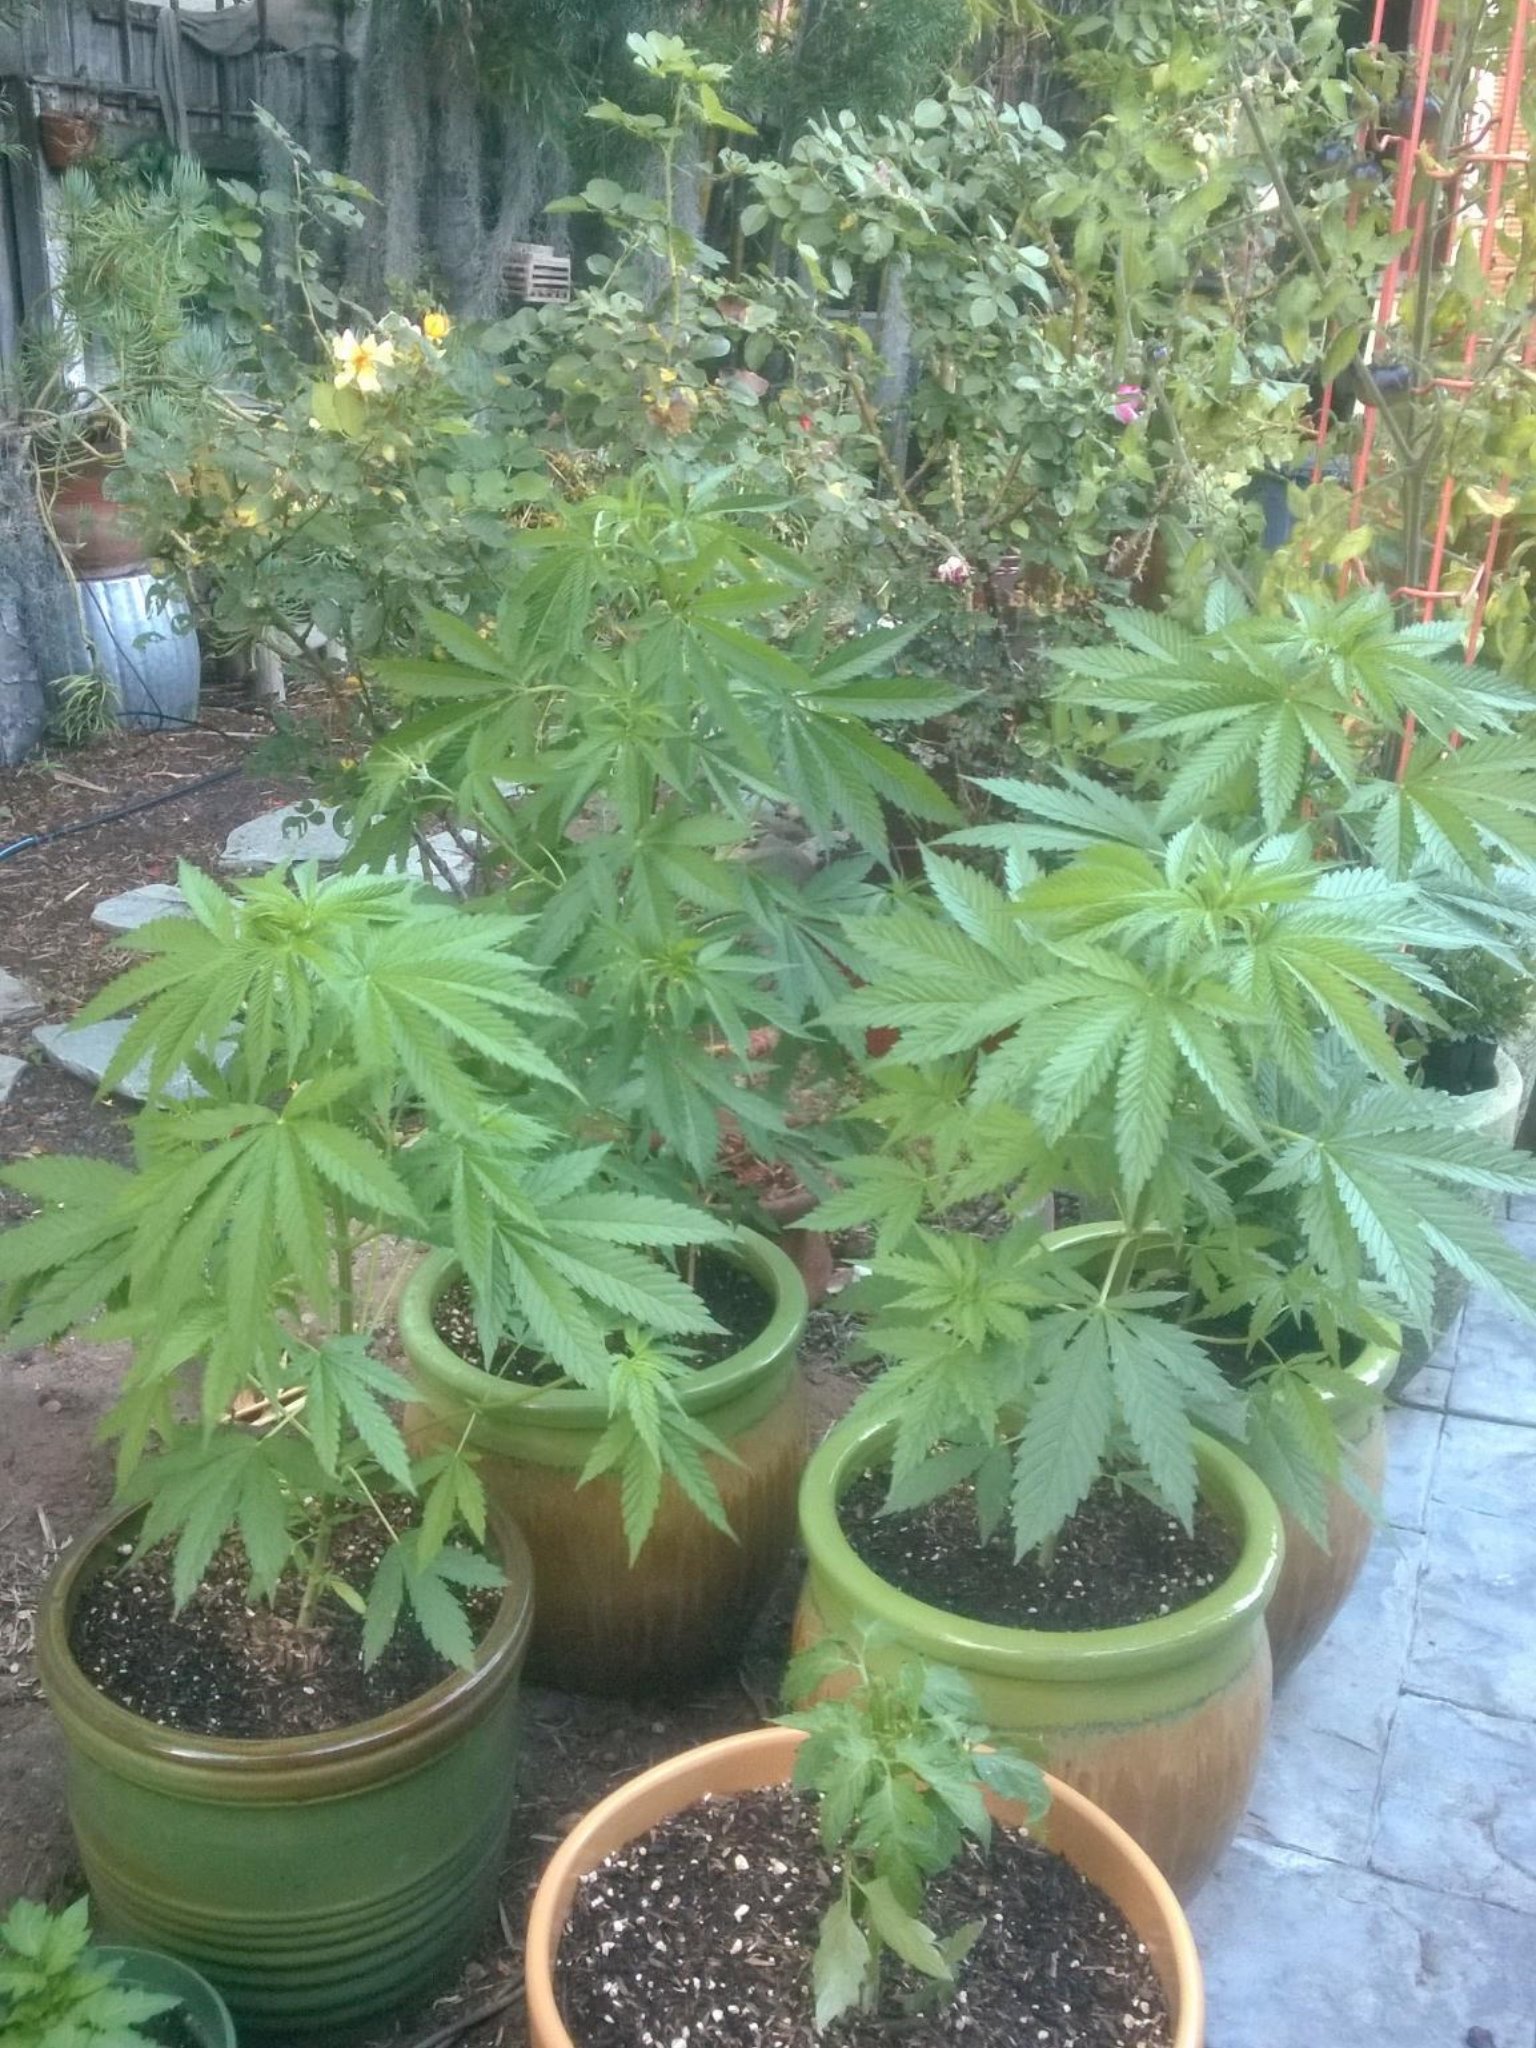
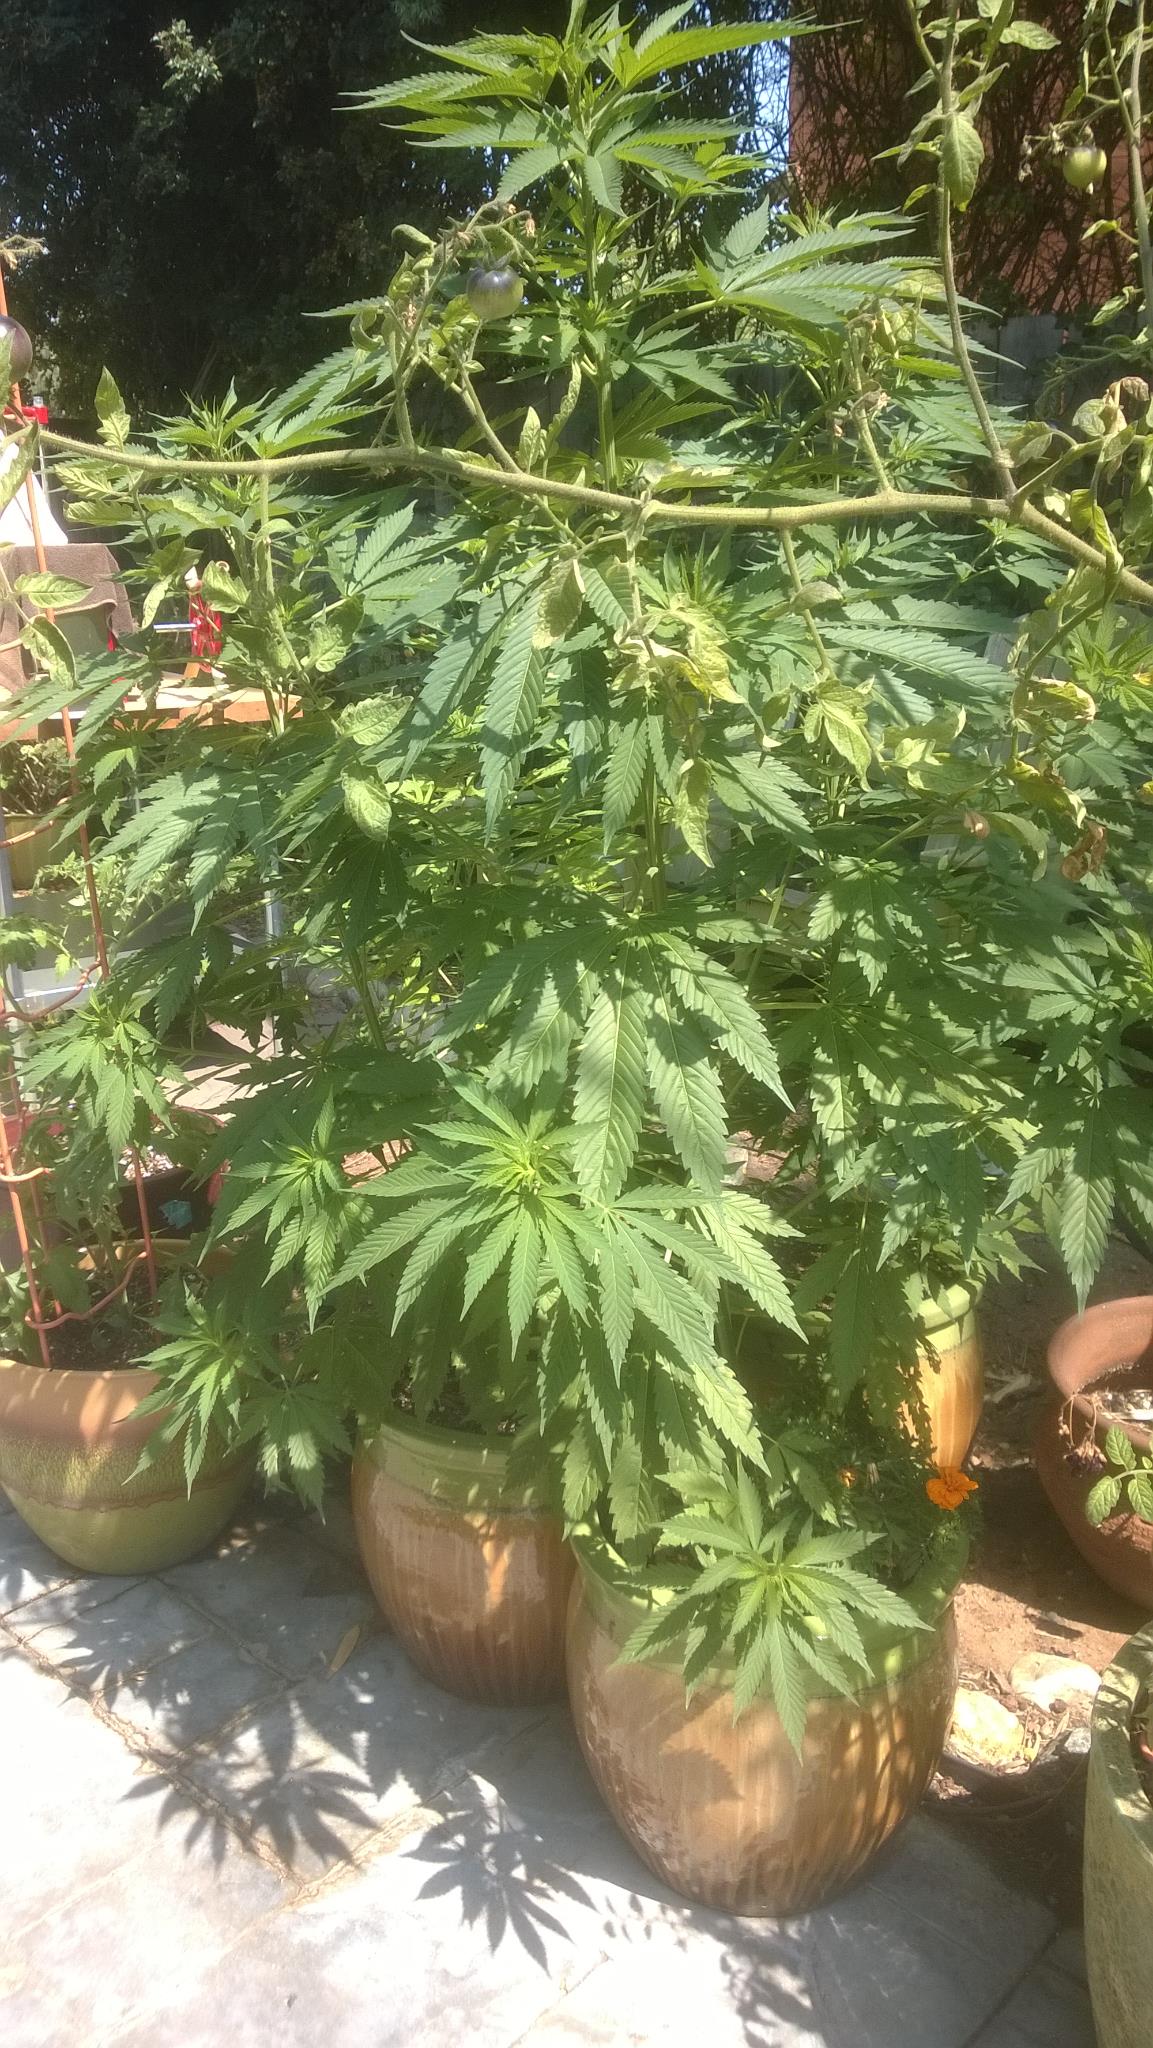
Vegetative growth is normally associated with a transplant at some point as plants outgrow the starter. Continued development of the root zone and robust branching are the top priorities for the grower. You can plant in the ground or in large pots, depending on where your best sunshine is. A plain plastic pot will do; just make sure the pot is clean before putting your treasure in it. If you are planting in the ground, amend the soil with fresh mulch or organic soil amendment.
Watering & Fertilizer
Cannabis plants need well-drained, slightly acidic soil rich with organic matter in order to thrive.
Recipe 420 is a blend of premium aged fir bark, coir, sphagnum peat moss, pumice, earthworm castings, seabird guano, crab meal, and humic acids, enhanced with mycorrhizal fungi and beneficial soil bacteria. Walter Andersen’s Nursery carries it.
Cannabis plants require a large amount of food over their lifecycle. Use natural and organic fertilizers available at garden stores like blood meal, bone meal, fish meal, bat guano, and kelp meal. We use organic tomato fertilizer.
You can purchase nutrient solutions designed specifically for cannabis from your local grow shop or Amazon, but these are often expensive and can damage soil bacteria as they are generally composed of synthetic mineral salts and intended for indoor, soil-less growing.
Start fertilizing at the vegetative stage of the plant with nitrogen-rich fertilizer, which enables stems to be strong enough to hold the weight of heavy buds.
Switch to phosphorous-heavy fertilizer when the plant starts flowering, usually six to eight weeks into the growth of your plant.
A warning about the use of pesticides, fungicides or harmful chemicals: Whatever you feed the cannabis plant, you wind up ingesting once the plant is harvested.
Over-watering is the most common mistake made by rookie growers. The rule of thumb is to water deeply, then wait until the top inch of soil is completely dry before watering again. Every other day usually works.
Large, in-ground cannabis plants can use up to 10 gallons of water every day in warm weather. Be vigilant during a Santa Ana.
Protect the roots of your plants from overheating during warm weather, as pots of soil can rapidly reach 90°F or more on a hot day. Use a thick layer of mulch to help keep the roots cool. Cold feet, warm head.
Harvesting
Flowering generally lasts 7-10 weeks for indica and hybrid photoperiod cannabis strains, while the sativa dominant strains can take 10-14 weeks to fully ripen.
Autos really only flower for 30-45 days with a much more sudden transition into flowering.
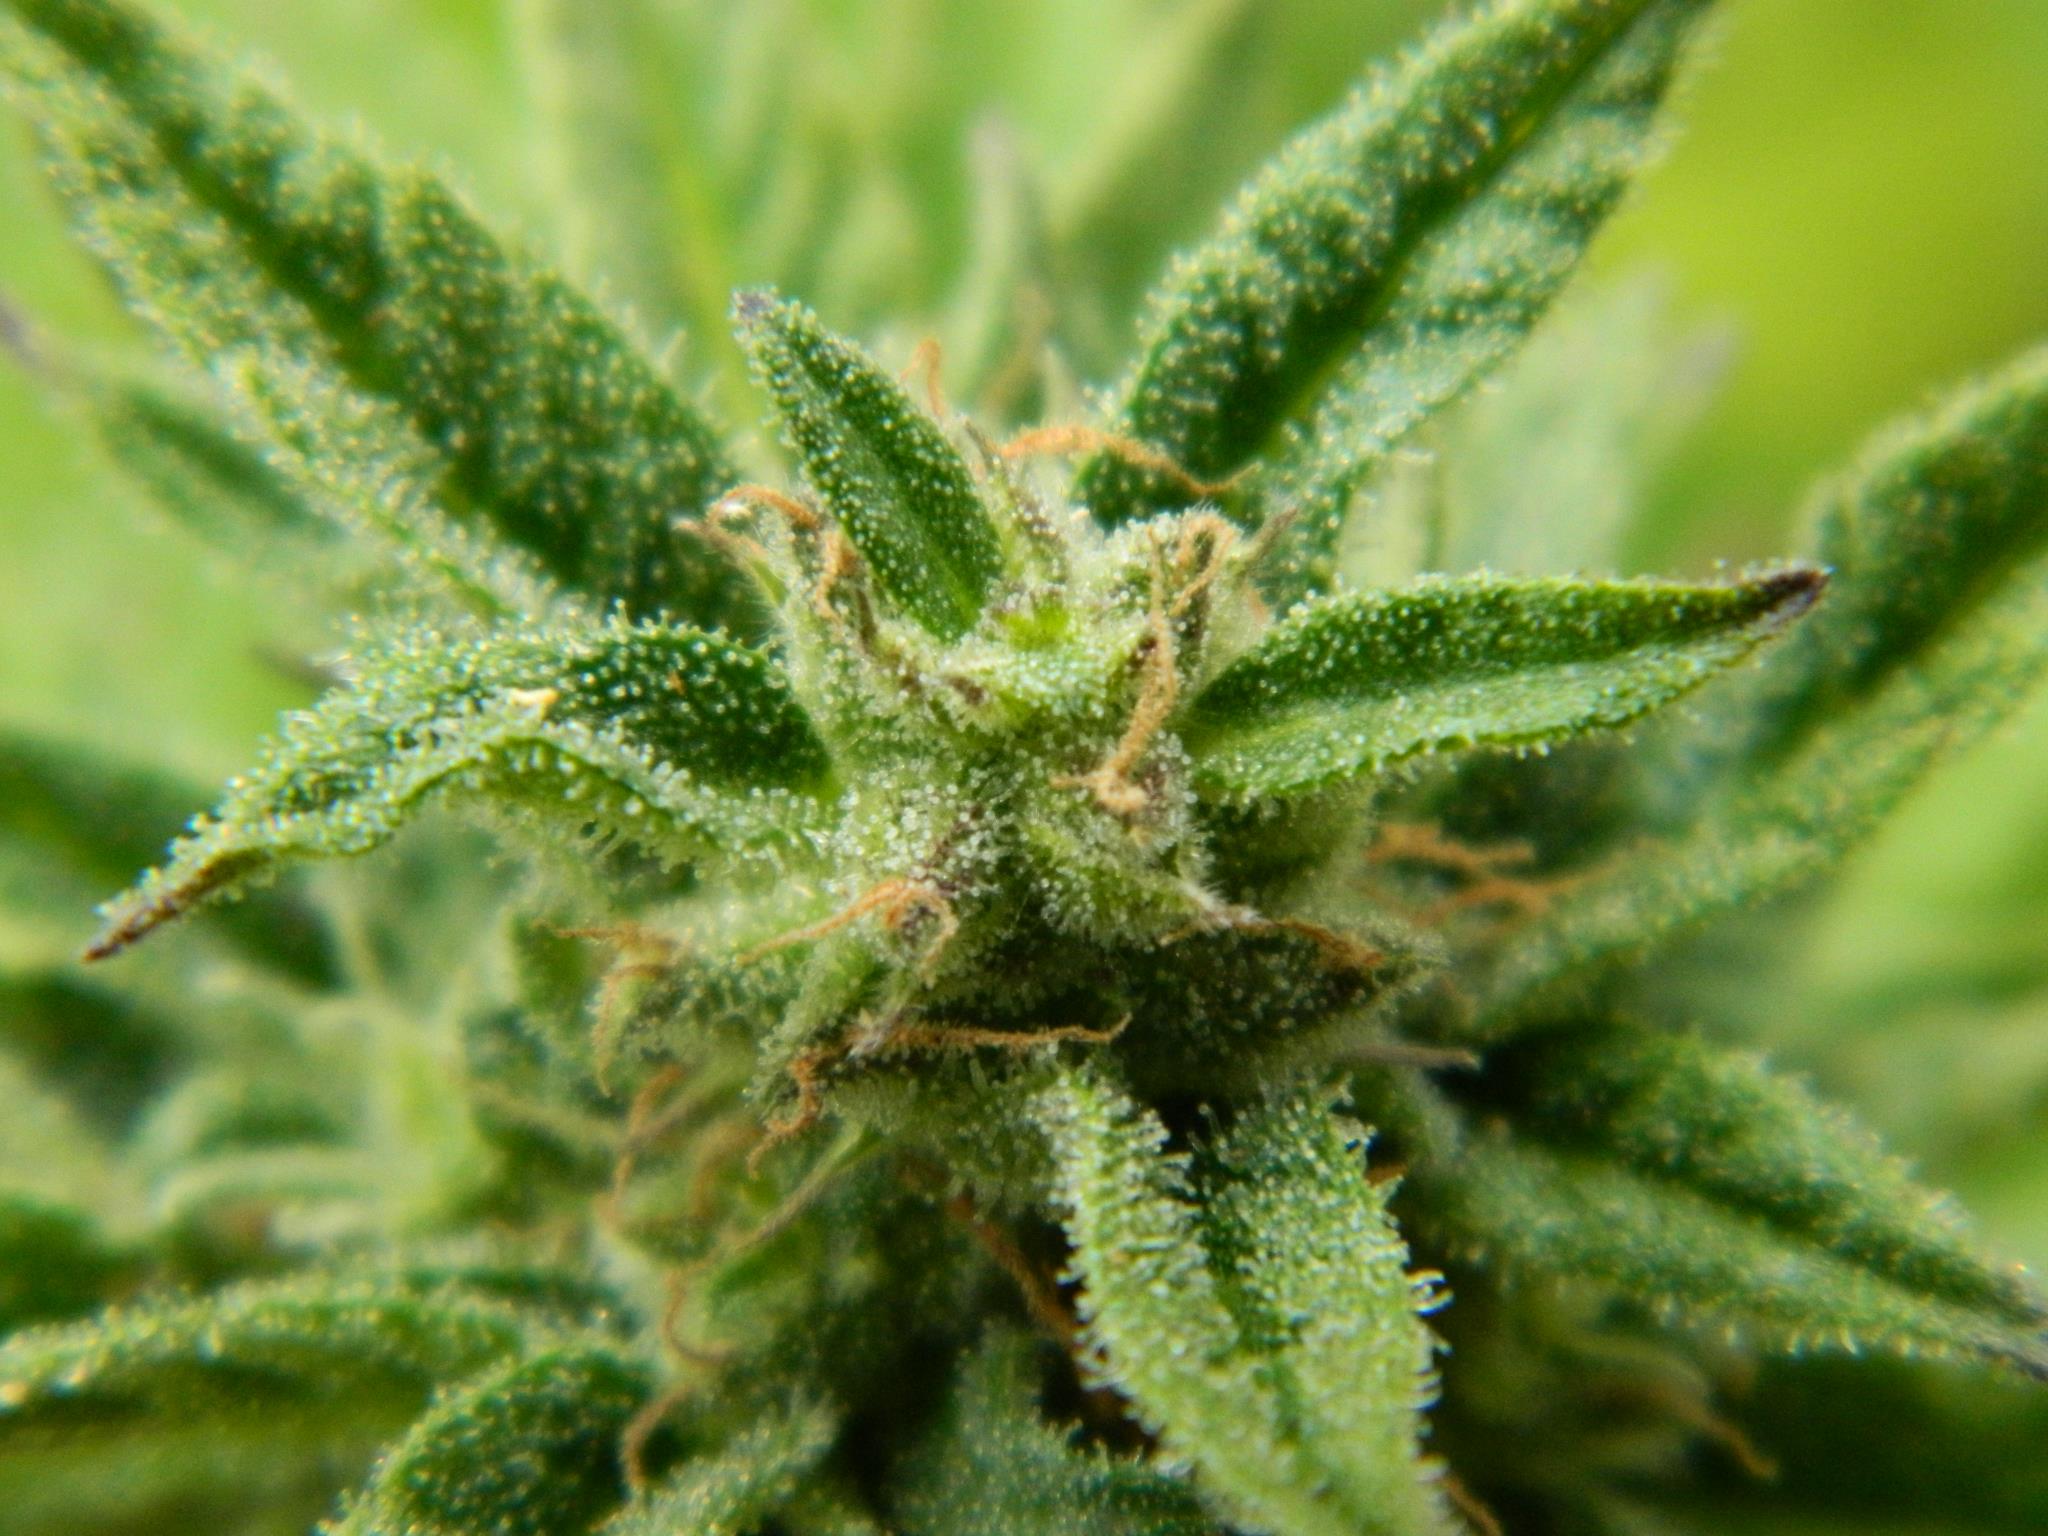
It’s always best to evaluate if a cannabis plant is ready to harvest by taking a closer look at those resin dripping buds. Using an inexpensive scope to zoom in on those resin heads to make sure they are milky and amber rather than clear.
When your buds are blooming then the plant’s interior area is shaded, reducing the plant’s much-needed exposure to the sun. When your plant starts to flower, be aggressive in pruning the big yellow and brown fan leaves to reduce the chemical intervention of pesticides, fungicides, or other chemicals later on and to prevent powdery mildew and mold.
Now covered abundantly in trichomes, pistils are shriveling back and changing color. Deep orange, mauve, brown or scarlet may emerge depending on species. The swollen resin sacks begin to change color in waves all over the plant. First, going from clear to milky then milky to amber. These signs mean it is time to harvest the results of your hard work.
For higher THC content harvest when trichomes are 20-30% amber.
For a broader cannabinoid profile, harvest when trichomes are 60-80% amber. Watch carefully as the differences here may only be twenty-four hours.
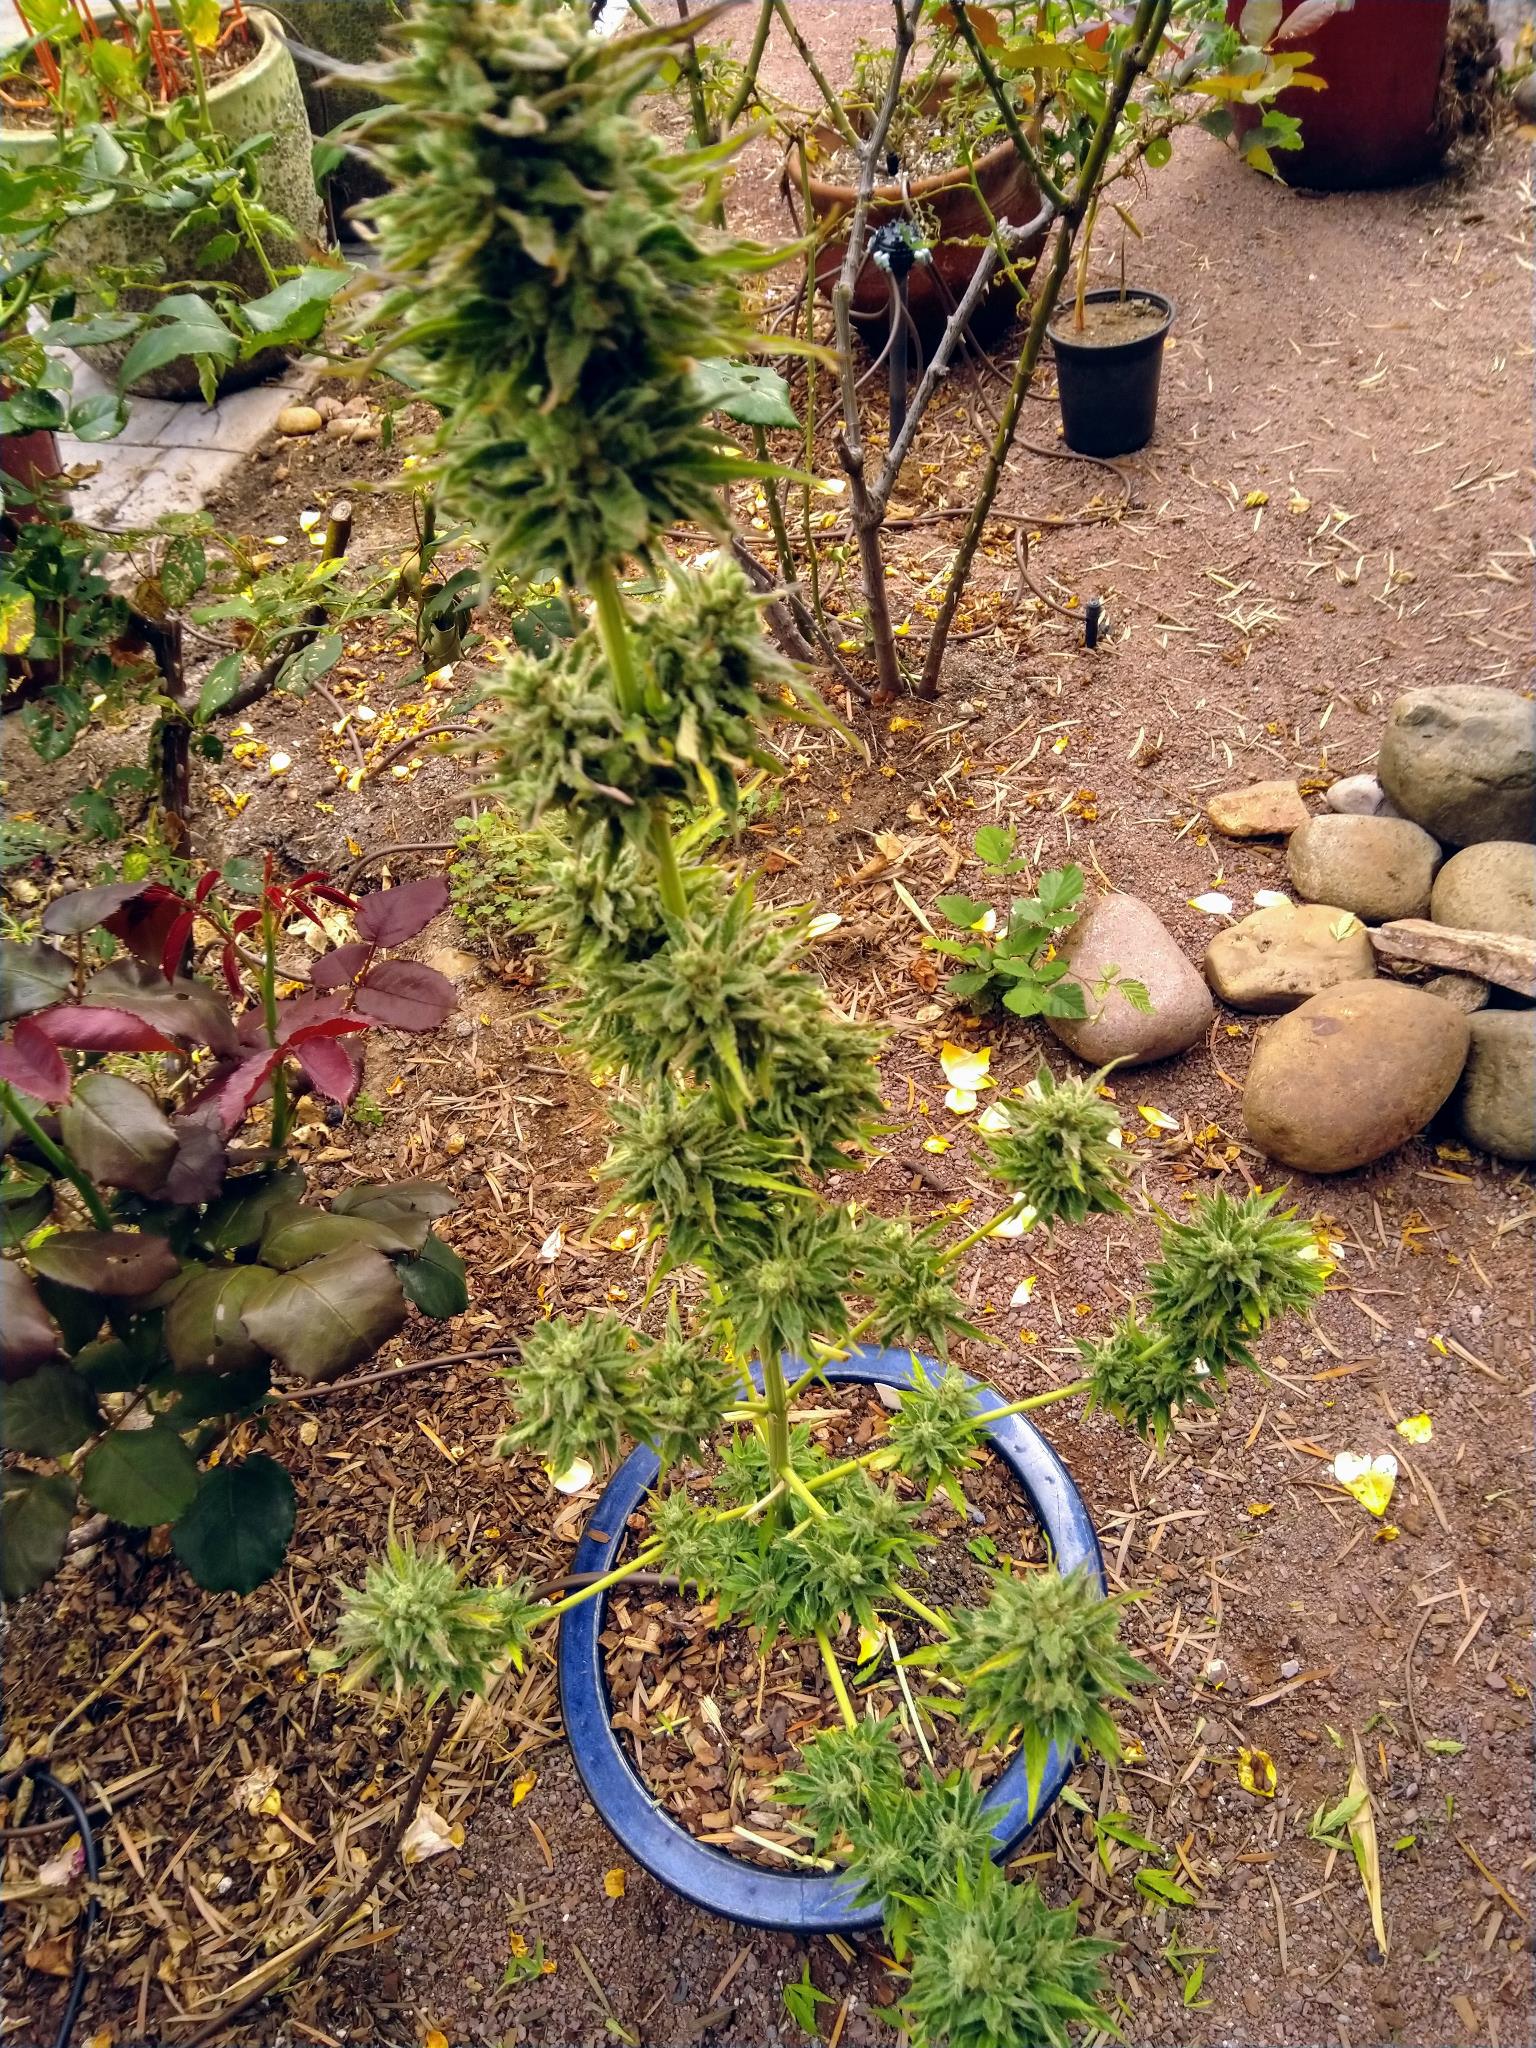
Once you confirm you’ve got a ripe cannabis crop on your hands it’s time to break out the trimming scissors and get harvesting.
There is no set way to harvest. Be brave and learn by doing.
Some will wet trim, which is removing all the leaves while the plant is still standing then break the plant down further. Hang branches to dry or lay individual buds on a drying rack. Some will remove the large sugar leaves only, then harvest and hang the whole plant.
Be careful when handling. You want to disturb the delicate trichomes as little as possible.
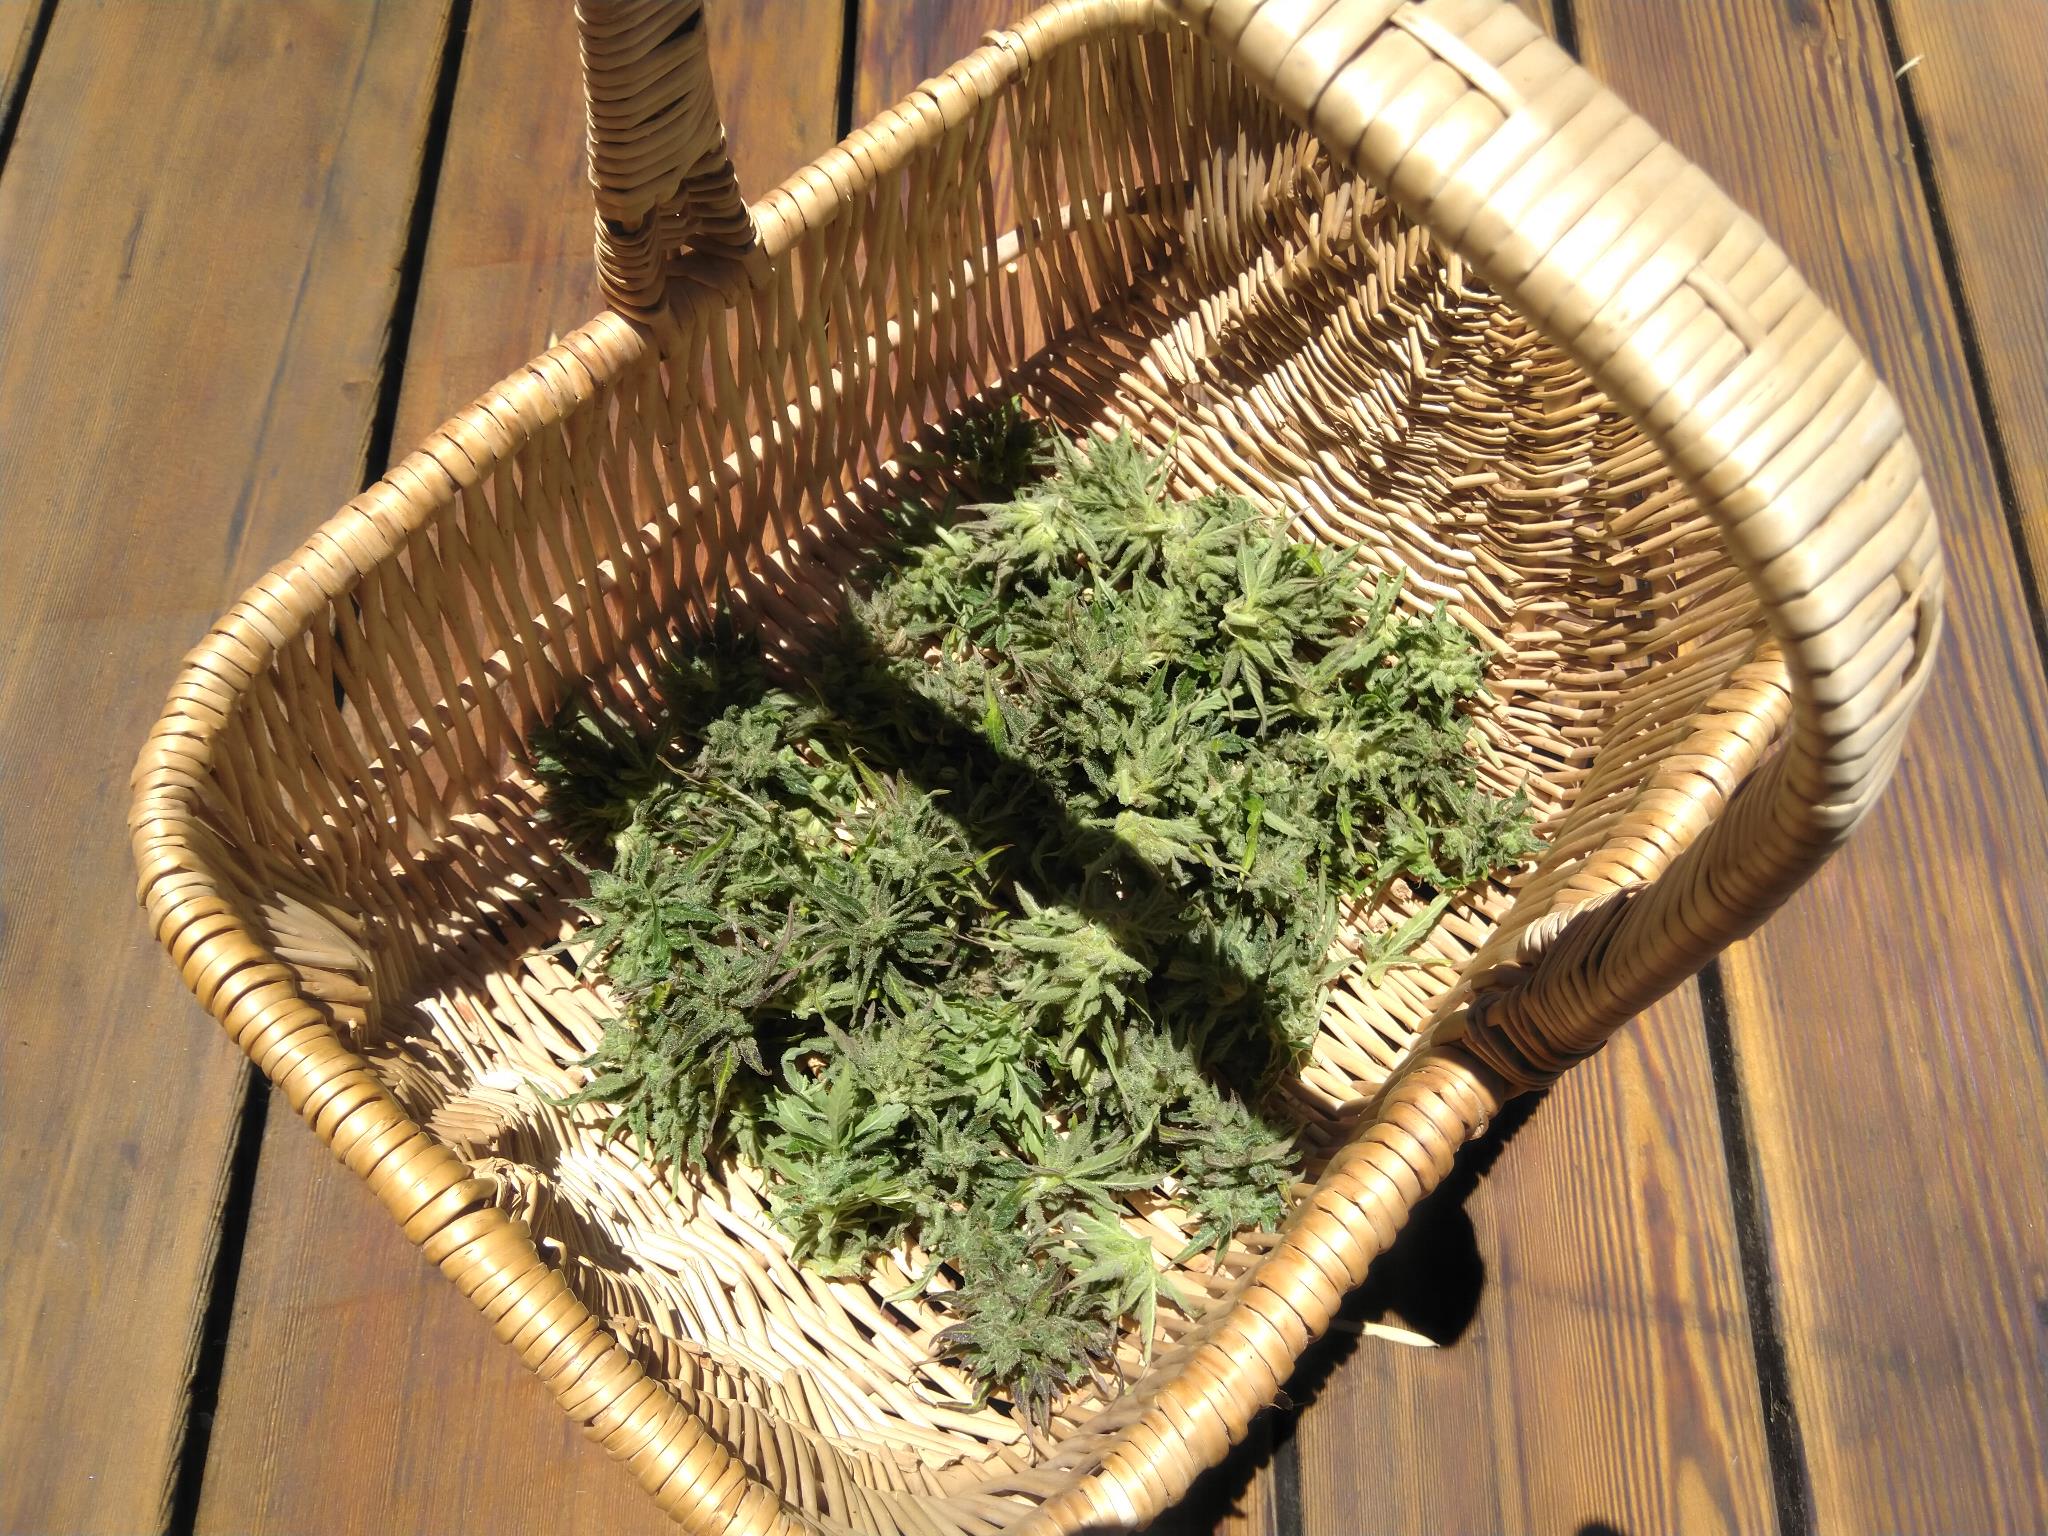
Dry your buds in a dark cool place with little humidity. Ideally, this process is very slow and should take a minimum of two weeks.
Check things often for over drying or molds.
When dry, thin branches will easily snap. Thick branches will still be slightly flexible.
The chlorophyll has degraded and the green of growth has been replaced with species dependent colors. Fawn, tan, a pale green or even deep blue and purple can emerge as the buds true dry colors develop.
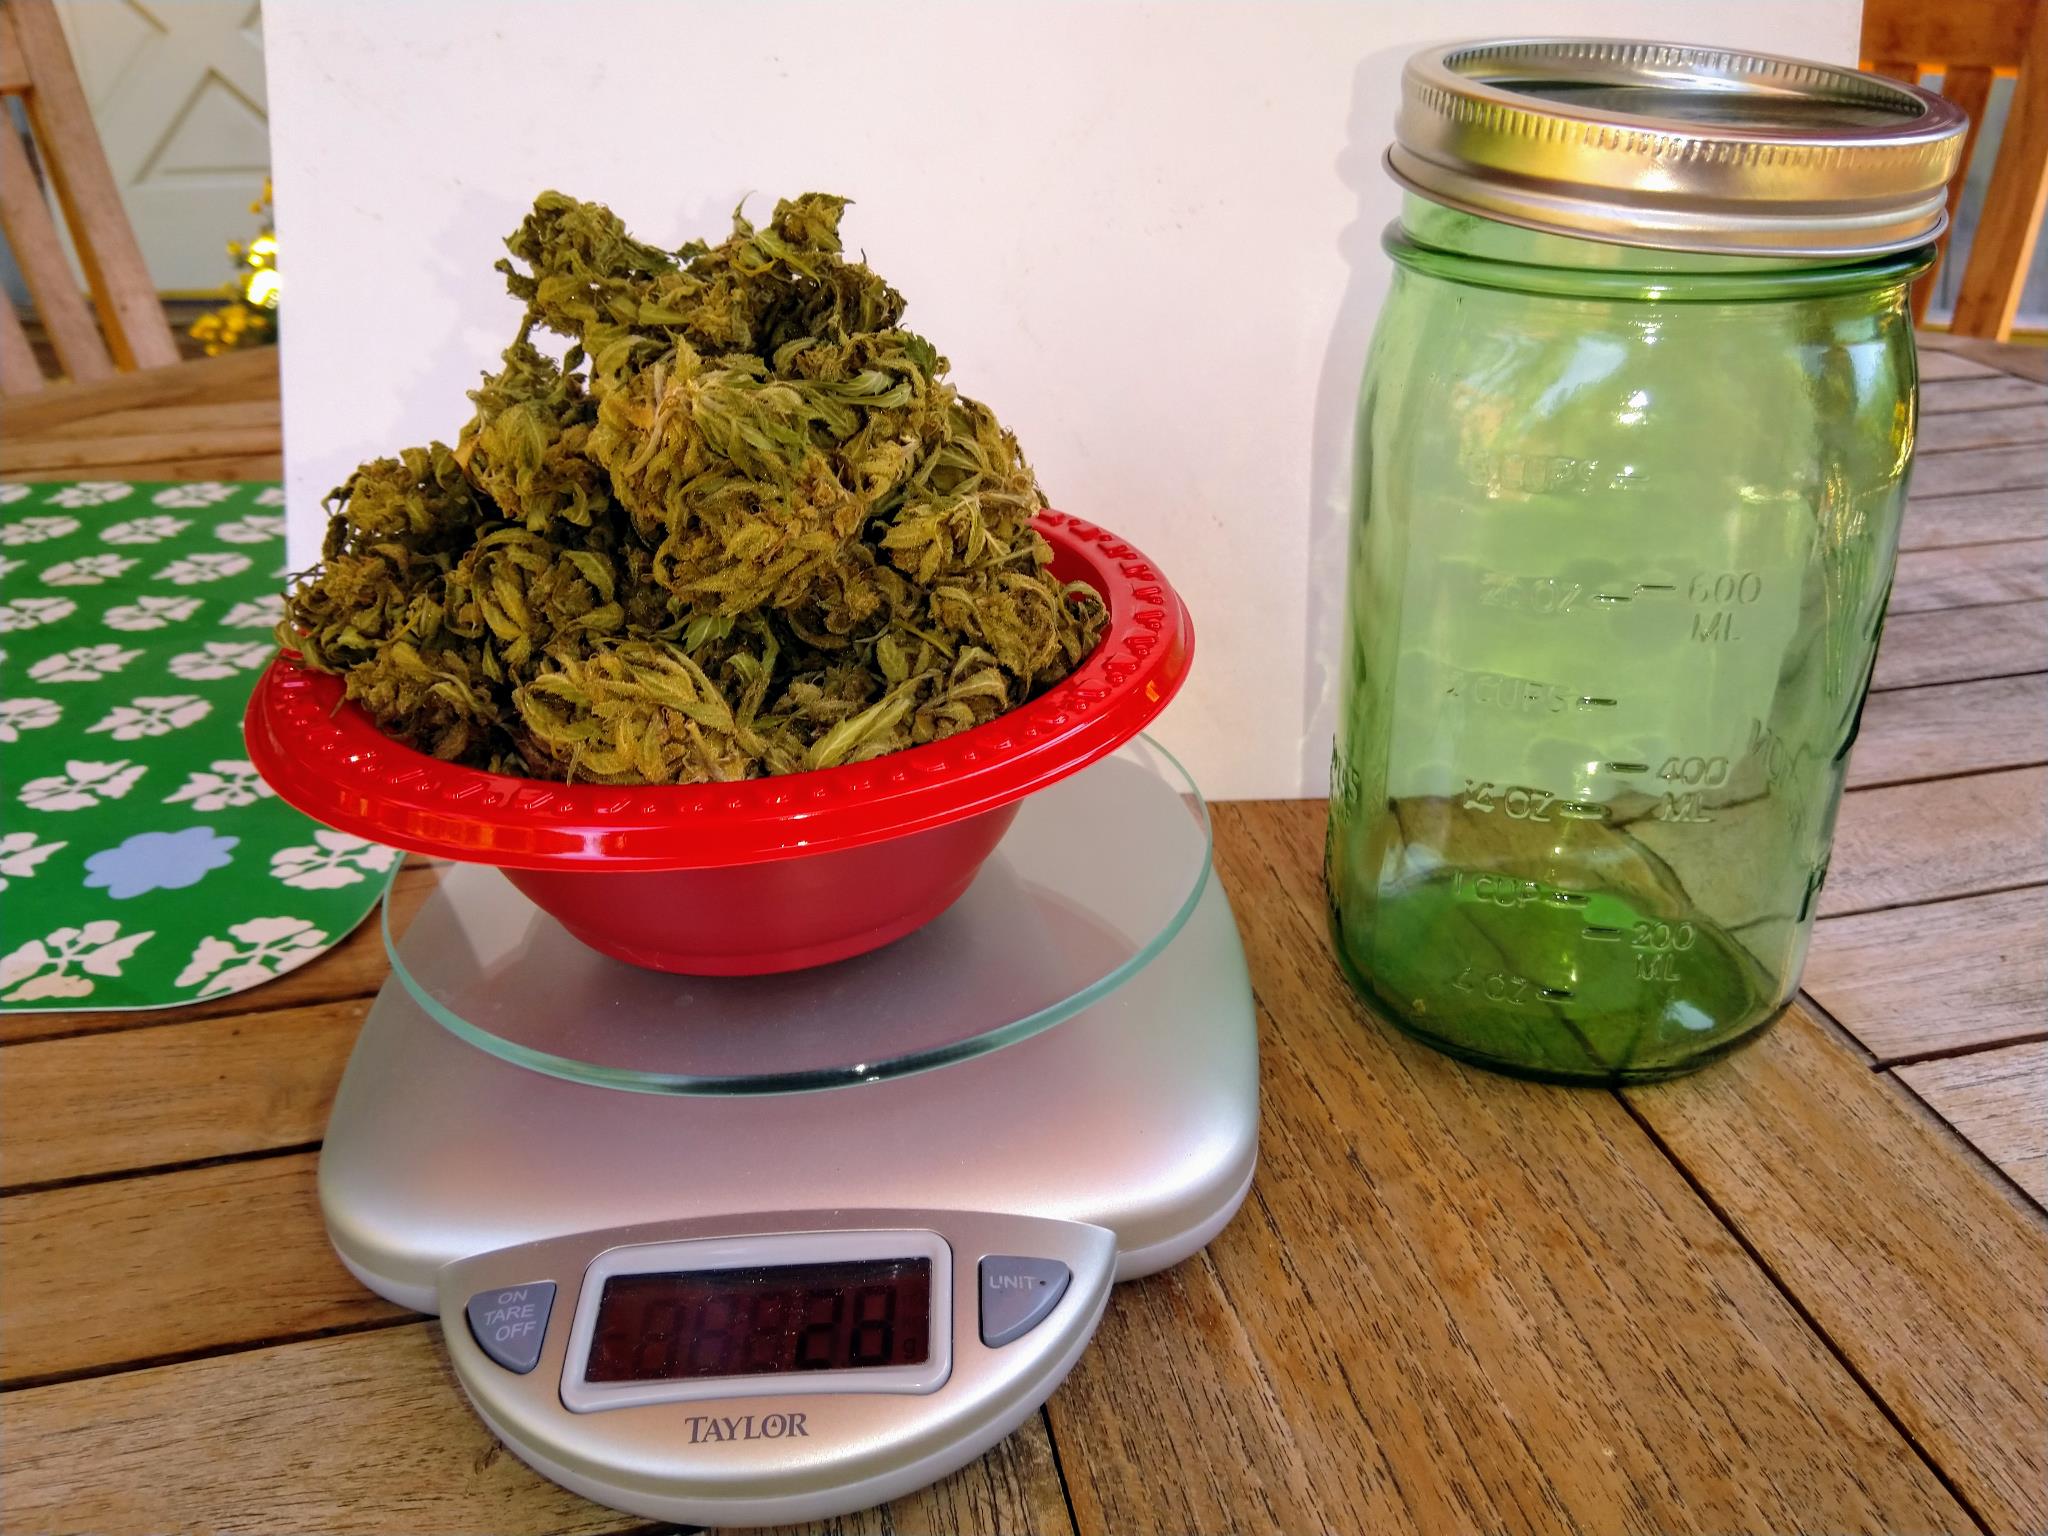
At this point loosely pack a well-sealed glass jar with your treasure. Open the top or "burp" the jar once a day for the first two weeks. This releases built up humidity that can mold your buds. Once the flowers are dry to the touch only burp the jar once a week. You don't want weeks of hard work to be wrecked by lack of attention.
How Long Does Cannabis Take To Cure?
You can cure for as long as you like. Remembering that the psychotropic compounds drop a water molecule when properly cured and become more psychoactive. This takes at least six weeks when cured under ideal conditions. The longer the cure the smoother the result. Keep your jars in a dark cool place. THC breaks down into other cannabinoids over time when exposed to light.